
How to Choose Auto Parts POS Software in Pakistan
A practical guide for spare parts shop owners evaluating POS software — without the clutter of generic retail systems.
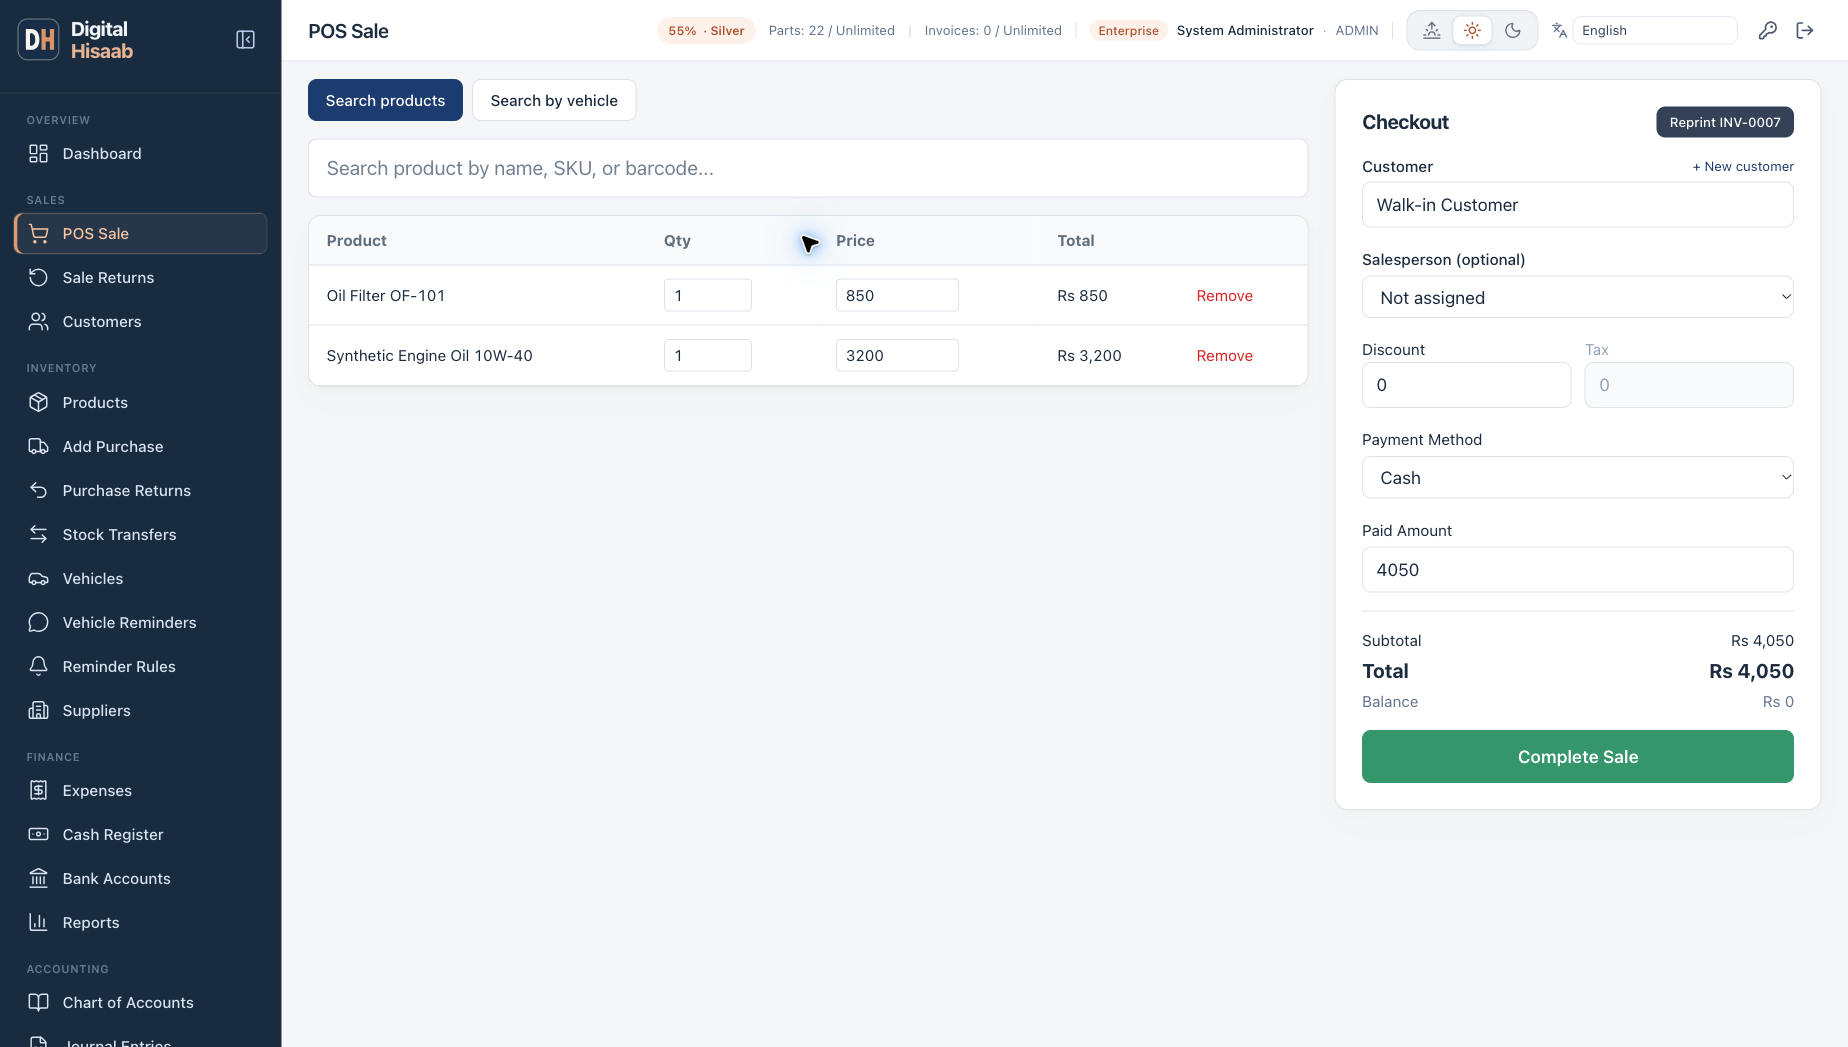
If you run an auto parts shop in Pakistan, you already know the counter moves fast. Customers ask for part numbers, negotiate on price, and often buy on credit. Generic POS systems built for restaurants or clothing stores rarely handle that workflow well.
The right auto parts POS software should cover billing, inventory, customer ledger (udhar), supplier payables, and reports — in one place, with support when something goes wrong during peak hours.
1. Billing speed at the counter
Look for part number search, barcode support, and quick invoice printing. Staff should not need a training manual to sell a filter or brake pad during a rush.
Credit sales should automatically post to the customer ledger so you are not maintaining a separate notebook for udhar.
2. Inventory that matches spare parts
You need part numbers, brands, rack locations and a low-stock report — not just SKU counts. Purchase and sale returns should adjust stock without manual corrections.
If you have multiple branches, branch-wise stock and consolidated reports save hours each week.
3. Offline capability
Internet outages and load-shedding are reality in Pakistan. A desktop app that works offline and syncs later keeps sales going when cloud-only tools would stop.
4. Local pricing and support
PKR plans, WhatsApp support, and help migrating from Excel matter more than flashy dashboards. Ask whether the vendor will import your existing product and customer lists.
5. Run a realistic demo with sample records
Prepare five sample parts with different brands, a cash customer, and a customer who buys on credit. Ask the vendor to show a purchase, a cash sale, a partial payment, and a return. Check the invoice, remaining stock, and customer balance after each step. A dashboard alone cannot show whether the counter workflow fits your shop.
For an illustrative test, start with 12 filters, receive 8, sell 3, and accept 1 return. The expected quantity is 18. For a separate credit example, a Rs. 10,000 sale followed by a Rs. 4,000 receipt leaves Rs. 6,000 outstanding, before any other entries. Use these checks to evaluate any vendor, including Digital Hisaab.
6. Compare the total cost of getting started
Compare the same billing period and the same number of branches and users. Ask about data import, staff training, backup access, support hours, and any separate printer or desktop setup costs. Confirm renewal pricing as well as introductory offers. A low monthly headline is not a complete cost comparison.
If tax invoicing or a particular integration is essential to your business, ask the vendor to demonstrate that exact requirement and confirm its availability for your plan. Do not assume a product supports it because it can print an invoice.
7. Plan a controlled move from your register or Excel
Take a copy of your current records. Remove duplicate part numbers and customer entries, count opening stock, and agree on a cutoff time. Keep customer opening balances separate from old invoices so the same amount is not counted twice.
Start with a small sample and reconcile it before moving the full catalog. Let the cashier complete a sale and a return on the actual counter computer. Keep the original records available until you have checked quantities, outstanding balances, and the first closing report.
Where Digital Hisaab fits
Digital Hisaab brings auto parts billing, inventory, customer and supplier ledgers into one system. The offline Windows desktop mode is on the Business and Enterprise plans. Compare current plans on the pricing page and confirm the features, users, branches, and billing period included before subscribing.
Try the free demo or request a walkthrough on WhatsApp to see if it fits your counter workflow.